Tablet screens are more susceptible to damage than many people realize. Whether it’s from an accidental drop, an unexpected spill, or simply years of wear and tear, a malfunctioning screen can turn your handy device into an expensive paperweight. If you’re facing such a dilemma, fear not—replacing a tablet screen is a task many opt to undertake themselves, saving both time and money. This comprehensive guide will help you navigate through the challenges of screen replacement with clarity and confidence.
Having the right knowledge is key to successfully replacing your tablet screen. Understanding your specific tablet model, as well as the tools and techniques necessary for the job, can make a world of difference. This article will unravel the process step-by-step, taking you from assessment to completion. By the end, you’ll have the skills needed to tackle your repair, and perhaps you’ll even feel more empowered with your gadget skills.
Assessing the Damage
The first step in the replacement process is to accurately assess the damage of your tablet screen. Signs that a replacement is necessary include visible cracks, unresponsive touch areas, or flickering displays. Examining your screen carefully can save you time and resources. In some cases, minor issues might be fixable without a screen replacement.
- Check for visible cracks or chips in the glass.
- Examine the edges for delamination.
- Test the touchscreen functionality in all areas.
If the screen is indeed damaged, the next order of business is to gather the necessary tools and materials to facilitate the replacement process.
Tools and Materials Needed
Successful tablet screen replacement hinges on having adequate tools and materials. Below is a comprehensive list of what you’ll need to efficiently carry out this repair:
- Screwdrivers (various sizes, including pentalobe)
- Pry tools for separating screen from the chassis
- New adhesive to secure the new screen
- A replacement screen compatible with your tablet model
- Safety goggles to protect your eyes
| Tool | Purpose |
|---|---|
| Screwdriver | For removing screws from the tablet casing |
| Pry Tool | To safely detach the broken screen from the device |
| Adhesive | For securing the new screen |
| Replacement Screen | New screen to replace the damaged one |
| Safety Goggles | To prevent injuries while working |
Preparing Your Tablet for Repair
Preparation is essential for a seamless tablet screen replacement. Start by backing up your data. Accidental loss can occur during repairs, so it’s proactive to secure your important information. Next, ensure your tablet is powered off to avoid any unexpected issues during the repair process. Cleaning your working environment is equally important; a clutter-free space can help you find your tools easily and maintain focus.
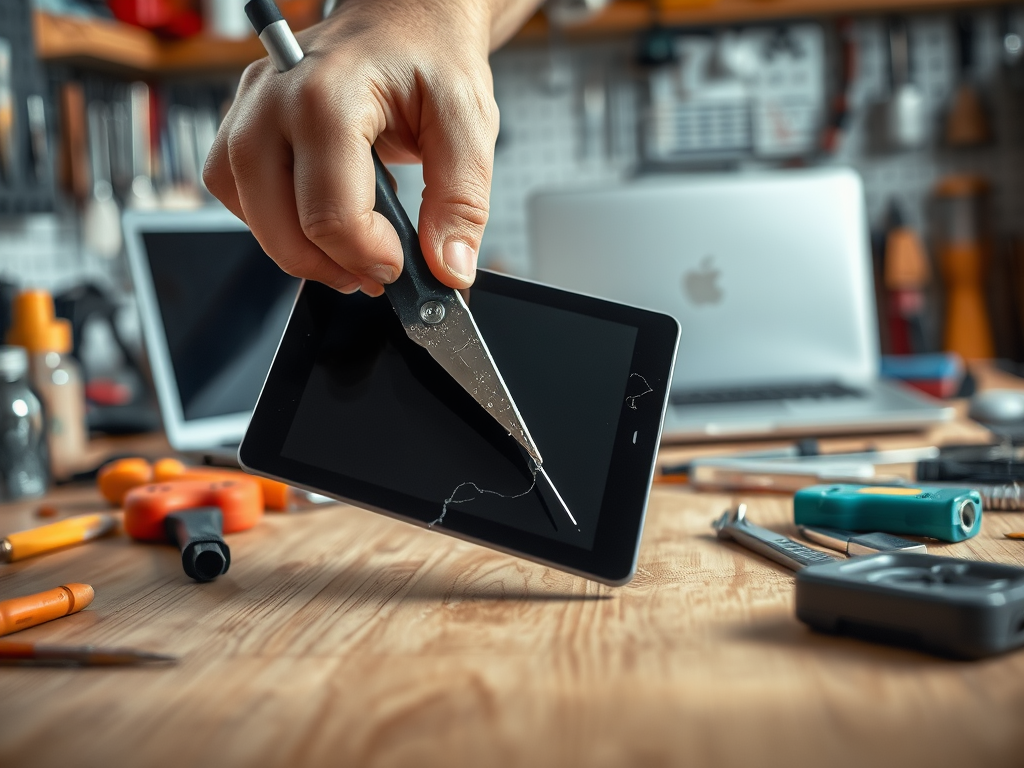
Removing the Broken Screen
Now you’re ready to begin the removal of the broken screen. This step requires patience and precision. Start by heating the edges of the screen gently. This will weaken the adhesive that’s holding it in place, making it easier to pry off. Slowly insert your pry tool between the screen and the tablet casing, ensuring you don’t damage any internal components.
While working through this part of the process, keep the following common mistakes in mind:
- Rushing the heating step may cause cracks to worsen.
- Using excessive force can damage internal components.
- Failing to remove all screws can lead to mishaps.
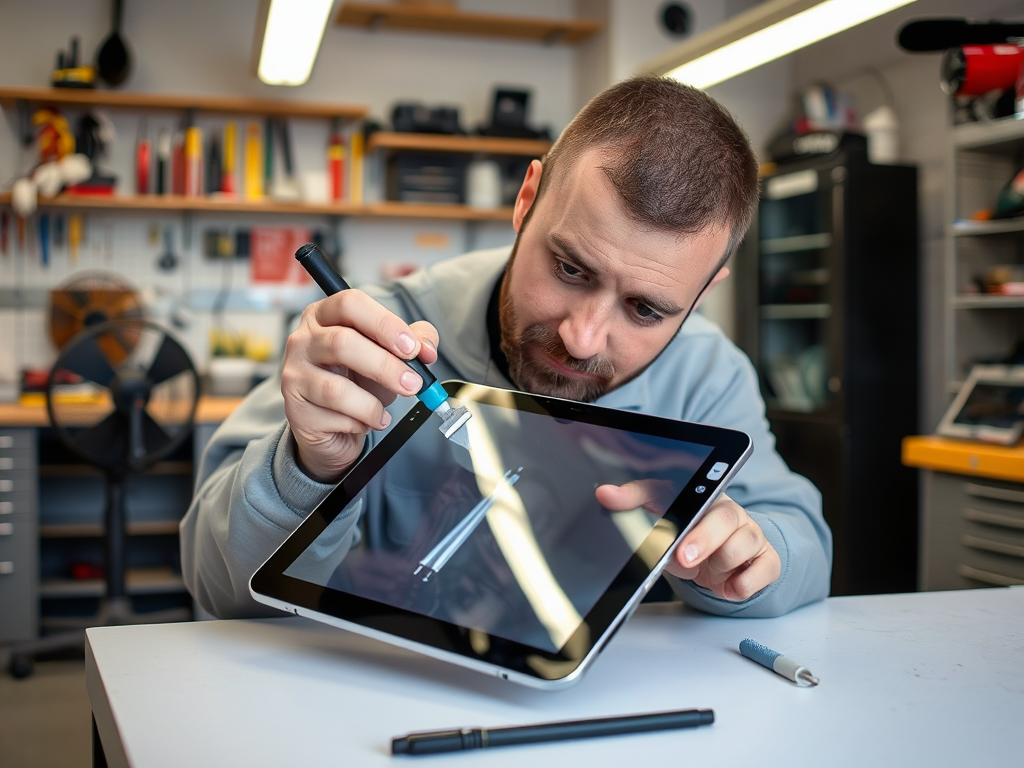
Installing the New Screen
With the old screen removed, it’s time to install the new one. This process is equally crucial as the removal. Begin by cleaning the screen frame to ensure good adhesion and aligning your new screen properly. Apply adhesive on the frame and securely press the new screen into place. Make sure to hold it steadily for a few moments so it bonds well and won’t shift during reassembly.
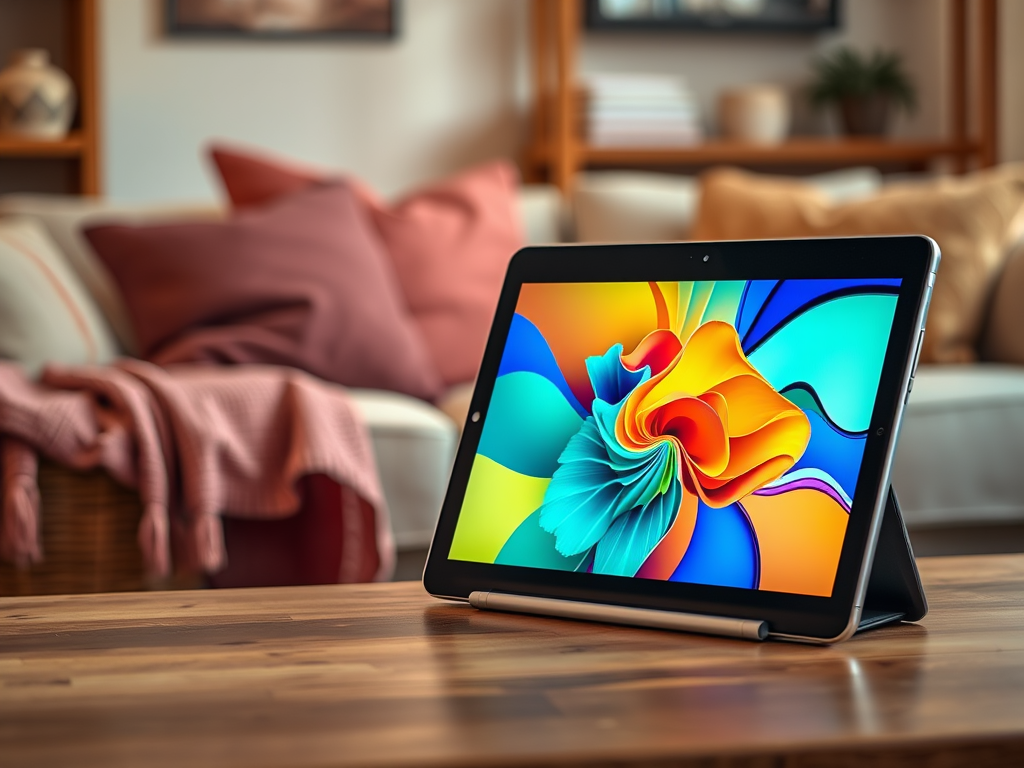
Testing the New Screen
After the new screen is securely in place, it’s time to test its functionality. Turn on your tablet and check for responsiveness, including touch sensitivity and display clarity. It’s vital to ensure everything is functioning seamlessly before finishing up.
Conclusion
Successfully replacing a tablet screen is a rewarding achievement that can save you significant money compared to going to a professional. By following the outlined steps, you’ve not only rehabilitated your device but also enhanced your technical skills. The knowledge gained throughout this process prepares you for any similar challenges in the future. Remember, with a little patience and the right tools, you can tackle more DIY projects that come your way!
Frequently Asked Questions
- How much does it cost to replace a tablet screen? The cost of replacing a tablet screen varies; it typically ranges from $50 to $300 depending on the model and whether you decide to DIY or consult a professional.
- Can I replace my tablet screen myself? Absolutely! Many people can successfully replace their tablet screens, provided they have the right tools, materials, and instructions.
- What if my tablet is still under warranty? Check with the manufacturer or retailer before attempting any repairs as it may void your warranty.
- How can I prevent future screen damage? Using protective cases, screen protectors, and practicing care when handling your tablet can go a long way.
- What should I do if my device won’t turn on after screen replacement? First, double-check all connections, ensure the battery is charged, and consider consulting a technician for professional assessment.