Uploading your favorite photos and videos to Instagram is a normal routine for many, yet frustratingly, image and video quality often suffers due to Instagram’s automatic compression algorithms. But fear not, as there are effective techniques you can employ to ensure your uploads maintain their pristine quality. In this article, we delve into ten methods to help you share content without sacrificing quality.
1. Use the Right Dimensions

Choosing the correct dimensions is fundamental in avoiding unnecessary compression. Instagram has optimized dimensions for both photos and videos; for images, the best dimensions are 1080 pixels wide by 1350 pixels tall for vertical posts, while for videos, 1080 pixels by 1920 pixels works in Stories. Importantly, ensuring your content matches these dimensions beforehand can avoid additional compression when you upload them.
Instagram supports various aspect ratios to cater to different types of content: square (1:1), portrait (4:5), and landscape (16:9). When you shoot or edit your content, aligning it to these aspect ratios helps maintain the quality. Programs like Adobe Photoshop or Lightroom can be useful in adjusting the dimensions and aspect ratios of your media before uploading.
2. Use High-Quality Tools for Editing

High-quality editing tools preserve the integrity of your images and videos. Software like Adobe Photoshop, Lightroom, or mobile apps like Snapseed provide advanced editing capabilities without destructive compression. These tools allow you to optimize brightness, contrast, sharpness, and other elements without affecting the original quality of your content.
Moreover, when exporting your edited media, always choose the highest quality format available. For videos, formats such as MP4 with H.264 codec are commonly recommended, as they strike a balance between quality and size, making them less prone to excessive compression when uploaded to Instagram.
3. Check Your Camera Settings
Your camera settings can significantly influence the initial quality of your photos and videos. For smartphone users, ensure your camera is set to the highest resolution available. Most modern smartphones allow you to customize your camera settings to shoot at optimum quality, including choosing between JPEG and RAW formats. Choosing RAW, where available, provides more data for editing, which is crucial before any Instagram post.
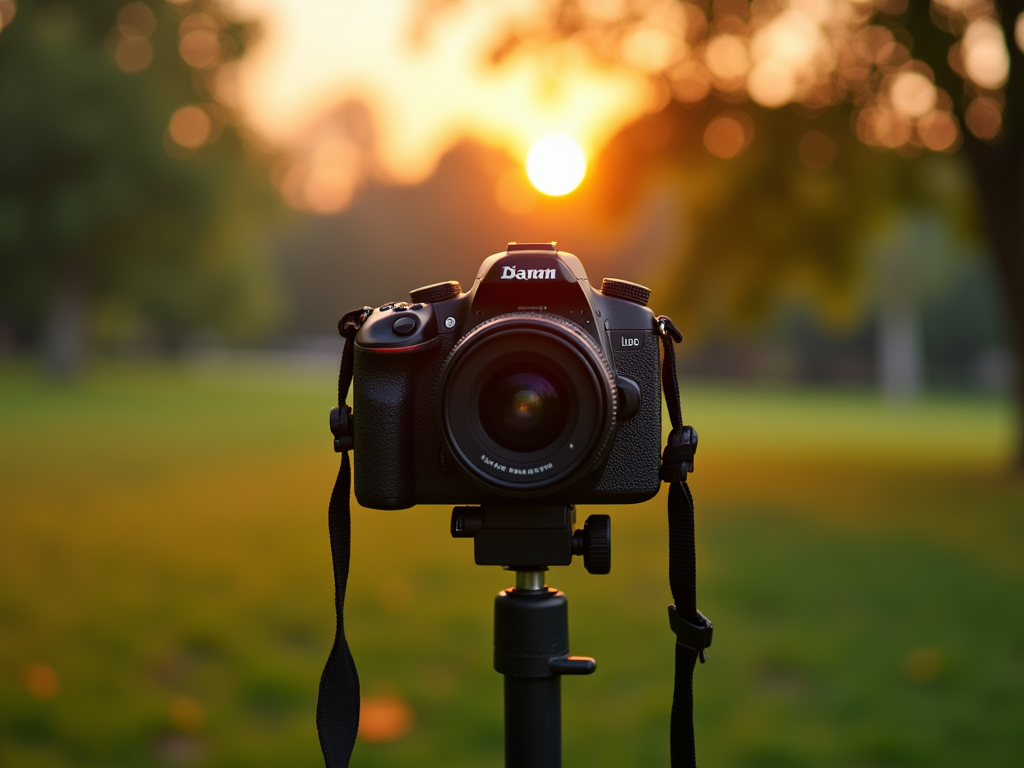
Additionally, when using DSLR or mirrorless cameras, make sure the settings are adjusted for high-quality captures. This includes choosing lower ISO levels in bright conditions to minimize noise and setting a suitable aperture to achieve a desired depth of field.
4. Compress Smartly Before Uploading
While compression is generally perceived as detrimental to quality, smart compression can actually enhance the uploading process. Using specific applications designed for compression, such as TinyPNG for images, allows you to gently reduce file size without a noticeable loss in quality. Similarly, HandBrake is an excellent tool for compressing videos efficiently.
Here’s a step-by-step guide to smart compression:
- Import your high-resolution photo or video into the tool of choice.
- Choose optimal settings that minimally affect quality (e.g., setting quality percentage to around 80-90 for images).
- Save the new version and compare it to ensure minimized quality loss.
By pre-emptively compressing content, you significantly reduce the file size while maintaining its high quality, lessening the chance of Instagram’s own compression algorithms sharply reducing your media’s detail and clarity.
5. Upload with Strong Internet Connection
Uploading with a strong internet connection, preferably Wi-Fi, helps avoid any potential hitches that can compromise the quality. A weak connection may force the app to further reduce the size and quality in order to complete the upload. To avoid this, always ensure you’re on a stable and fast network before hitting that upload button.
Network stability is just as important as speed. Even if you have a fast connection, fluctuation in network strength can lead to incomplete uploads or degraded quality. Running a quick internet speed test can determine the reliability and speed of your connection. Consistent speeds above 20 Mbps for uploads will usually suffice for high-resolution content.
Conclusion
Maintaining the quality of your photos and videos on Instagram doesn’t require a compromise between convenience and creativity. By understanding Instagram’s uploading dynamics and leveraging the tips mentioned above, you can ensure your cherished moments remain as vivid and engaging as the moment you captured them. These strategies, from properly setting dimensions to using smart compression, will help you showcase your creativity without the hassle of quality loss.
Frequently Asked Questions
- Why do my Instagram photos lose quality? Instagram applies compression algorithms to optimize speed and storage on their servers, which can result in a loss of image and video quality.
- How can I upload videos on Instagram without losing quality? Ensure videos are in the MP4 format with H.264 codec, are of a correct size and aspect ratio, and use a reliable compression tool before uploading.
- What format should photos be in for Instagram? JPEG is the most recommended format for Instagram due to its balance between quality and file size.
- Does Instagram lower video quality after upload? Yes, Instagram compresses videos, but using proper dimensions and formats can reduce the extent of the quality loss.
- Can I use Instagram settings to prevent compression? Currently, Instagram doesn’t offer settings to disable compression, but using the outlined tactics can help mitigate quality loss.


